While we were still in house limbo, waiting for closing and working our way through an endless list of tasks, I did a lot of research on mid century homes. I discovered that our house had post and beam construction, and I scoured the internet looking for ways to bring out this architectural feature. As I noted in my last post, the beams in our house were incredibly rough and raw, giving the house a rustic feel that was not in keeping with its design. My goal was to end up with something like this.
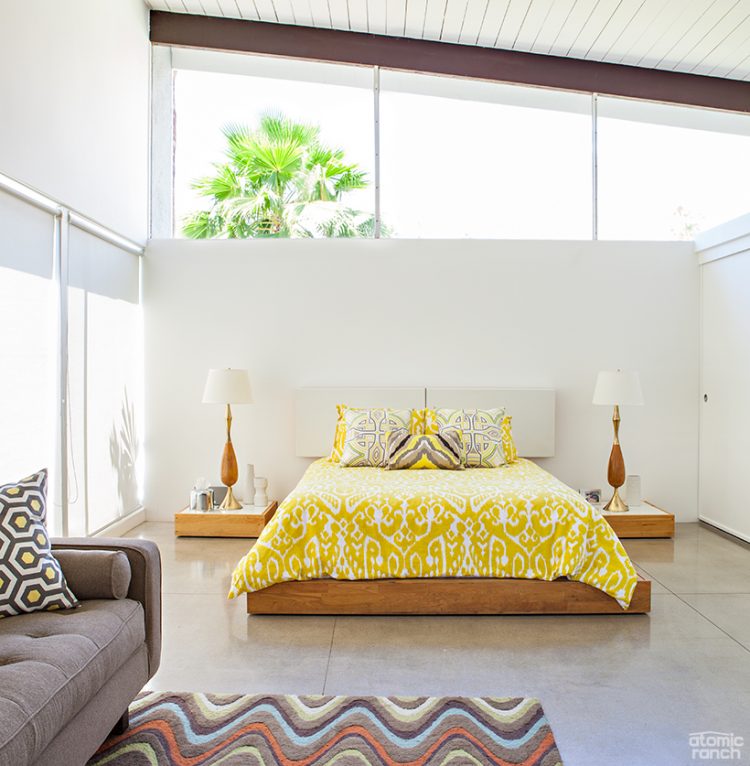
Our ceilings have a similar tongue and groove paneling, and I wanted natural wood beams to provide some contrast.
This was, I should add, the first DIY project that Greg and I had ever done, and, honestly, we had no idea how to make our vision a reality. Thankfully we live in the age of the internet where there are instructions for just about every problem. We ended up relying on this tutorial. We decided that gel stain was probably the only way we would be able to cover the roughness of the wood (and I was too intimidated to actually stain the beams).
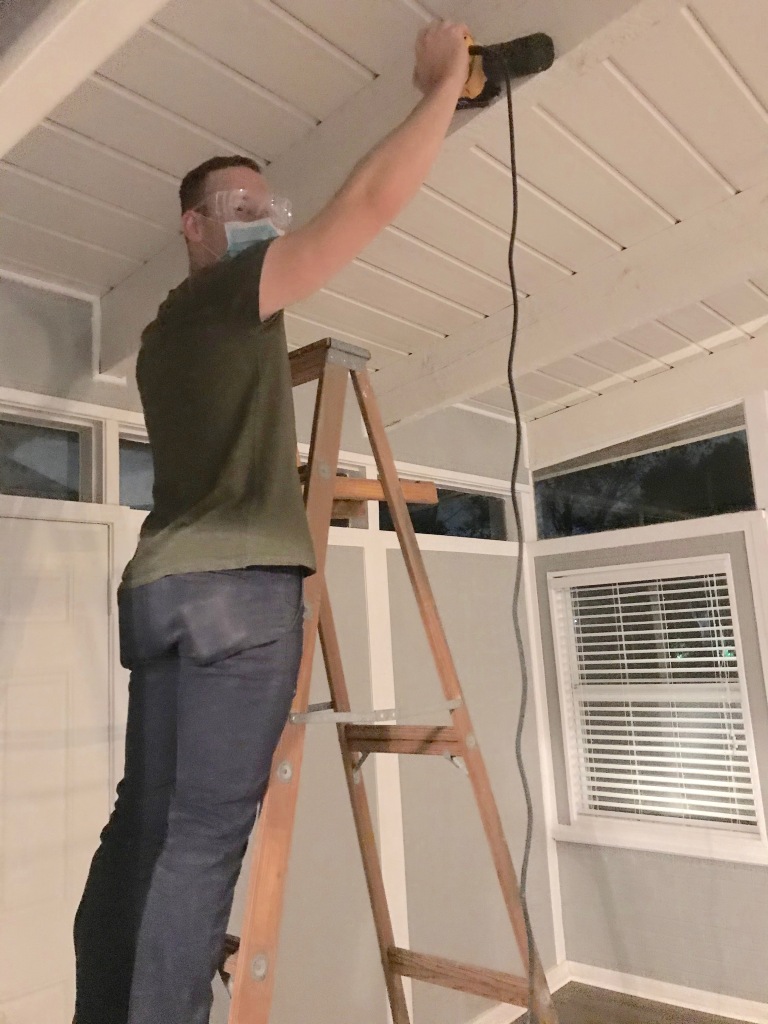
We started by sanding the beams in the kitchen and living room as best we could. The beams were very rough, and we knew that we would not be able to make them perfectly smooth in a reasonable amount of time; sanding even very superficially took us a week! At the end of the process, the beams were at least mostly free of splinters, although we had not managed to remove much of the white paint.
We chose to use Varathane gel stain in briarsmoke, which is a deep, chocolate brown with grey undertones. Even though I was on a mission to remove all traces of grey from the house, I found that briarsmoke more closely mimicked our laminate flooring. The other gel stains we tried were slightly too red for my taste, and once we painted the walls, the grey in the beams and flooring was much less overpowering.
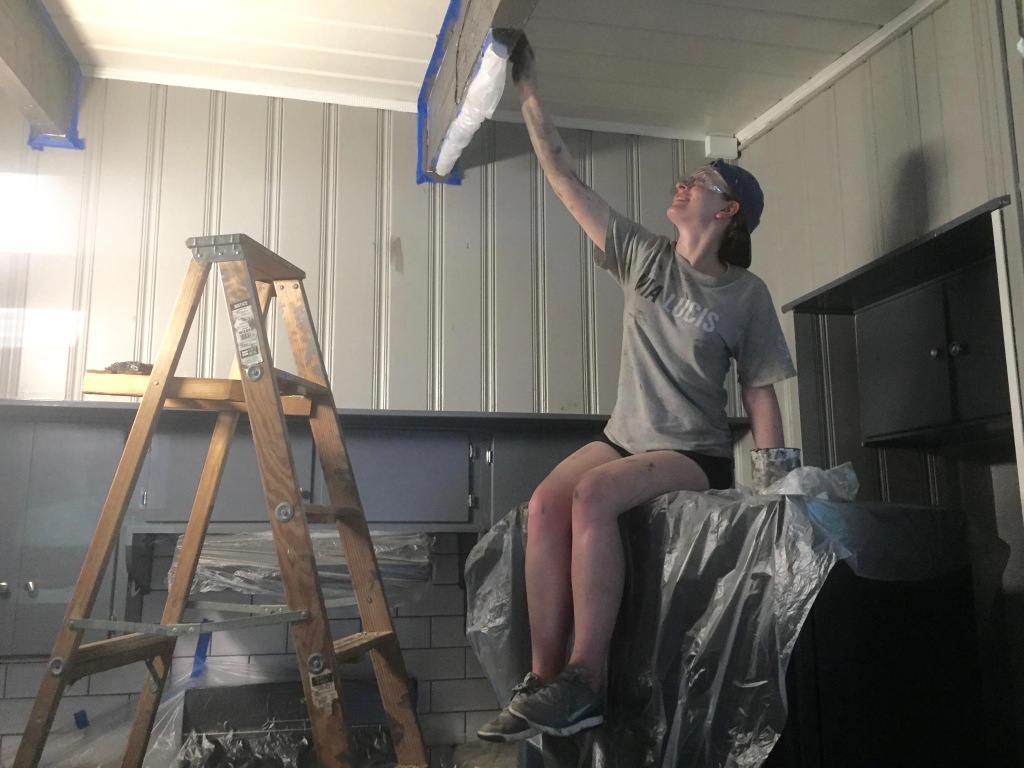
We then began the arduous process of applying gel stain to the beams. Unlike the tutorial, this was not a particularly easy step because our surface was not perfectly smooth. We tried several different methods, but in the end we found that normal dish sponges applied the stain better than anything else and held up on our rough surface. Unfortunately because the beams were still so rough, even the sponges could not reach every nook and cranny on the beams. That meant that once we were finished sponge painting every beam, we had to take small paint brushes (think kids’ art set paintbrushes) and fill in the tiny spots where the white paint still showed. It took a long, long time.
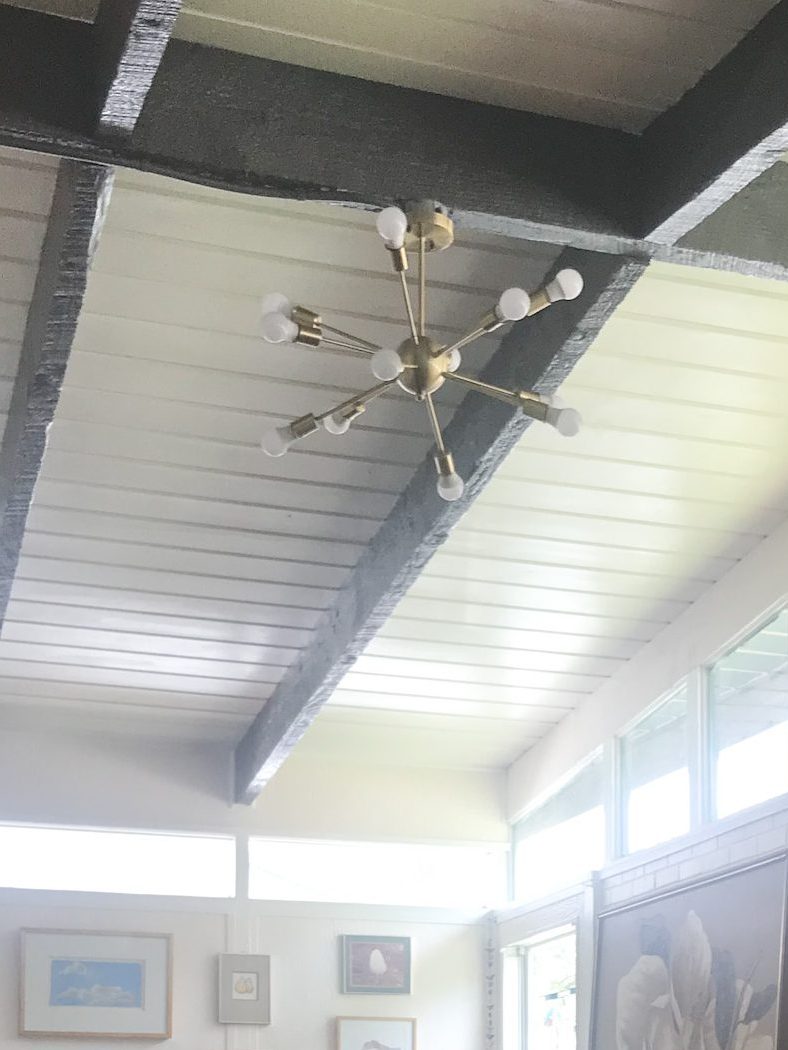
After we had filled in the tiny patches, it was time to seal the deal! We knew that we wanted our beams to be a little shiny, so we used General Finishes Arm-R-Seal Oil-Based Topcoat in semi-gloss. Thankfully the topcoat could be painted on to the beams using a regular paintbrush, so this was the shortest step in the process.
This was, to date, the most intensive DIY we have done on the house. It really pushed us out of our comfort zones (smearing grey goo all over your new house will do that to you), and the look really paid off. Once we warmed up the walls with a new coat of paint, the beams provided a cosy contrast to the light walls. Here is the finished result today!

Leave a comment